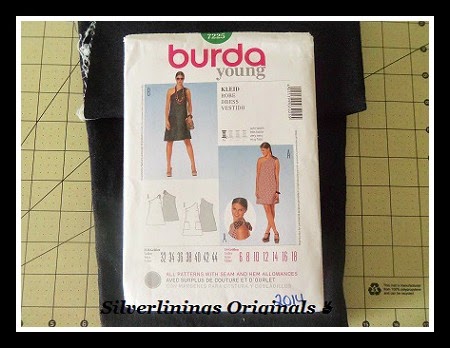
DIY - Jean Dress - Burda Young 7225 View B

Hey fellow blogging world. I couldn't wait to post this dress I made because I was so proud of it when I finally finished. It did take me all day b/c I was doing things around the house at the same time. Sundays are always busy at home, but I was determined to get this dress made. I was dreaming about it!!
I have to really get my daughter to take closer pictures! LOL What am I going to do when school starts, my photographer will be in the 5th grade!

I will be honest, I love patterns that do not have many pieces to cut out. As much as I love cutting patterns and fabric...I don't want to be cutting just the pattern for 45 minutes!

The fabric I used is a stretch jean material. I purchased it from Walmart a few months ago with this pattern in mind. I don't know exactly the percentage of stretch anymore because I bought it so long ago. I remember wanting it to get over my curves! LOL

There is plenty of firsts for me on this project like the zipper. The pictures above and below show my first zipper installation ever!! I did have to rip the stitches out one time. I can say that the install was not my favorite, but I am assuming that with practice and maybe a few YouTube tutorials I may get better over time.

I will say if I had to make this again and did add a zipper. 1) I think I would use a navy instead of grey. When you work with different color jean it is hard to match I think. 2) I may use an invisible zipper. I think that would have given it a more clean look also.

Two other firsts for me was sewing two darts, as you can see in the top left and self interfacing. Darts used to scare me to death. I wanted to avoid patterns that had darts, but I was determined to learn. The self interfacing wasn't bad at all. I may sound silly saying this but, to watch it come together amazed me!! I felt like I was making something that could really be bought off the rack!!

Thanks to the help of my new baby, my stitches came out awesome. My old machine got the job done, but this one...geez!!! I was so proud of the quiet workhorse!! LOL

For my patch pockets, I decided to do top-stitching that was not pattern of the pattern directions. I felt like it would give it a little more life. Plus with the jean being dark I figured it would pop out a little.

I pin like crazy!! I can't help it!!

Just working on my 2-inch hem. That was my last step. It really does not take all day to work on the project. Hey...its still summertime and I am enjoying the weather. I have a 10 yr old and a soon to be 7 year old on Sunday that still for some reason require attention!! LOL


I hope you enjoyed my post and enjoyed reading about this pattern as much as I enjoyed making it. Please feel free to leave me comments! They are much appreciated!!
Until Next Time!! ✌
Stephanie
Until Next Time!! ✌
Stephanie
Comments
Post a Comment